Automotive
A Simple, Beneficial Guide to Replacing External Car Door Handles
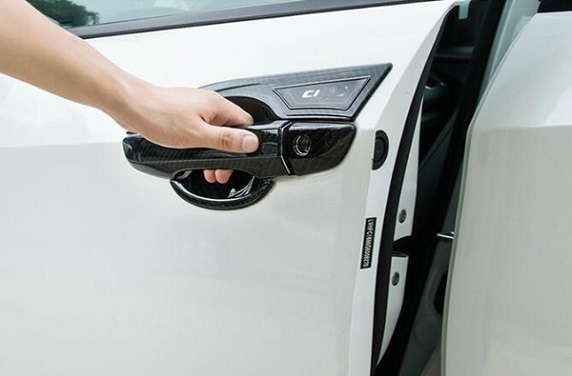
If you’ve had your vehicle for a while, you probably haven’t put much thought into your cars handle, until that one day when you grabbed it to get inside and it just didn’t feel right. You couldn’t tell what exactly was wrong, and although it was still working, it felt like the door was still locked. The first thing most of us would do in this case is trying the key or remote a couple of more times, but that didn’t help either. So, it seemed like you’ve managed to get locked out of your own car. Logically, you tried to open some of the rest of the doors of your car and thankfully they all worked. However, the problem still remained. What do you do?
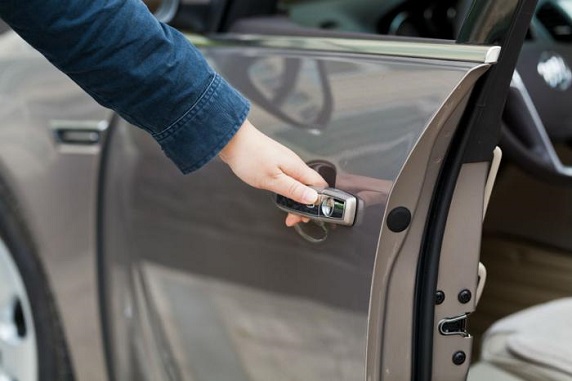
Since the driver’s door handle is the one that’s used the most, it’s common that it is the first one to start malfunctioning. Most handles are made of cheap cast metal or plastic, and after so many uses, the business end (which is a part you can’t see) eventually cracks and snaps completely off. Replacing your cars door handle is a procedure that can vary depending on the type of car you have. Some cars may require dismantling the interior of the door, but many door handles can be changed from outside the door in a few simple steps.
The first step to replacing a cars door handle is to buy a new one before you remove the old, faulty one. This allows you to study the handle and get some more insight into how you can attach it. The handle may have fasteners on one or both of its ends. If your car features automatic door locks, there may be levers that need to be connected or may have an electrical connection if your vehicle is fitted with a security system. By studying the fasteners, you can determine whether they can be removed from the inside or the exterior of the door. Ask the parts salesman whether the handle comes with a lock cylinder, and if it does, decide whether you want an extra key to operate this door, or do you still want to use the old key.

The next step is to find fasteners. In most cases they’re in the door jamp just around the corner from the handle. Sometimes they’re hidden behind a plastic plug or a weatherstrip, while other times they’re in plain view. Most of the time, there’s only one fastener, while on some rare occasions, there can also be a screw at the forward end and you can tell by looking at the replacement handle you just bought. Before you continue, apply a little bit of painter’s tape around the handle so that you don’t scratch the paint when performing the task. Use a quality painter’s tape that you can remove easily without compromising the finish.
Once you’ve covered the handle’s surroundings with tape, you can break out your screwdriver, Torx driver or socket set to remove the bolts. Once that’s done, you can remove the who handle by sliding it towards the front of the car and tilting the rear of the handle out of the door. After tilting the rear of the handle, you can slide the entire handle out of the door. Any mechanisms that have to be disconnected will also become visible at this point. Things like small wires for the alarm, a plastic rod attachment might be present in the assembly, and these can usually be removed easily with your fingers.

Further, you need to switch the lock cylinder by putting in the key in the lock and unclipping the fastener at the end that holds it. There could be a clock spring as well as other devices attached. Withdraw the cylinder with the key carefully and put it in the new handle. Worth noting is that you shouldn’t remove the key until the lock’s in place, because if you do, springs and other tiny parts can shoot out all over the room.
It’s finally time to install the new door handle. ensure the rubber gaskets are in place and slide in the front of the door handle into the slot before inserting the rear end. Reconnect any electrical connections or links and guide the handle slowly into the slot. Peak into the hole and see whether there’s any mechanism the handle needs to engage. This can be necessary to operate the trigger or the lock to get the latch to engage the mechanism when you put in the handle. Then, install the fasteners in the door jamb but don’t tighten it yet. Make sure the handle is properly seated against the door, and if there’s a fastener in the front, install it now but don’t tighten it just yet. Tighten the door jamb fastener first before tightening the one in the front.
Writing for the blog since 2012, Chris simply loves the idea of providing people with useful info on business, technology, vehicles, industry, sports and travel – all subjects of his interest. Even though he sounds like quite the butch, he’d watch a chick flick occasionally if it makes the wife happy, and he’s a fan of skincare routines though you’d never have him admit that unless you compliment his impeccable skin complexion.


